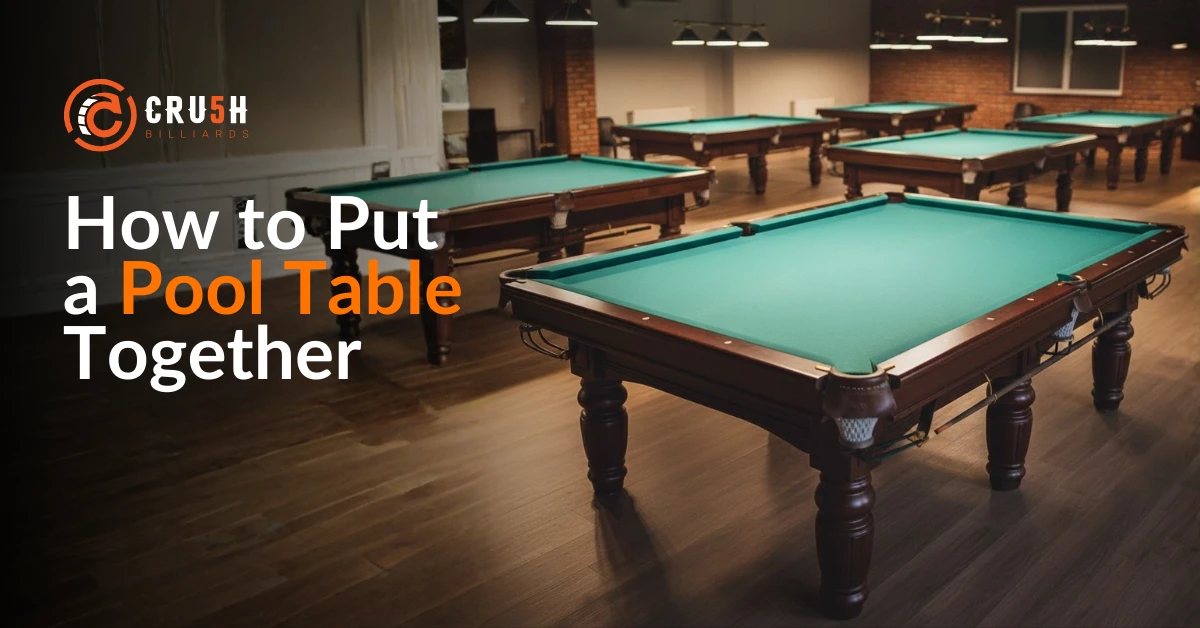
Learning how to put a pool table together correctly is essential for smooth gameplay, accurate ball roll, and protecting your investment. Whether you’re assembling a new table or handling a relocation, proper pool table setup ensures professional-level performance from day one.
This guide walks you through pool table installation, from choosing the right location to leveling the slate, installing felt, and final game-ready checks.
Putting a pool table together involves assembling the frame, securing and leveling the slate, installing felt, attaching rails and pockets, and correctly setting up the balls. Proper pool table installation ensures consistent gameplay, protects the slate, and extends the table’s lifespan.
Before setting up a pool table, make sure you have the right pool table assembly tools:
Screwdriver and socket wrench
Carpenter’s level
Shims
Beeswax or seam putty
Staple gun or felt adhesive
Having these ready makes billiards table setup smoother and prevents costly mistakes.
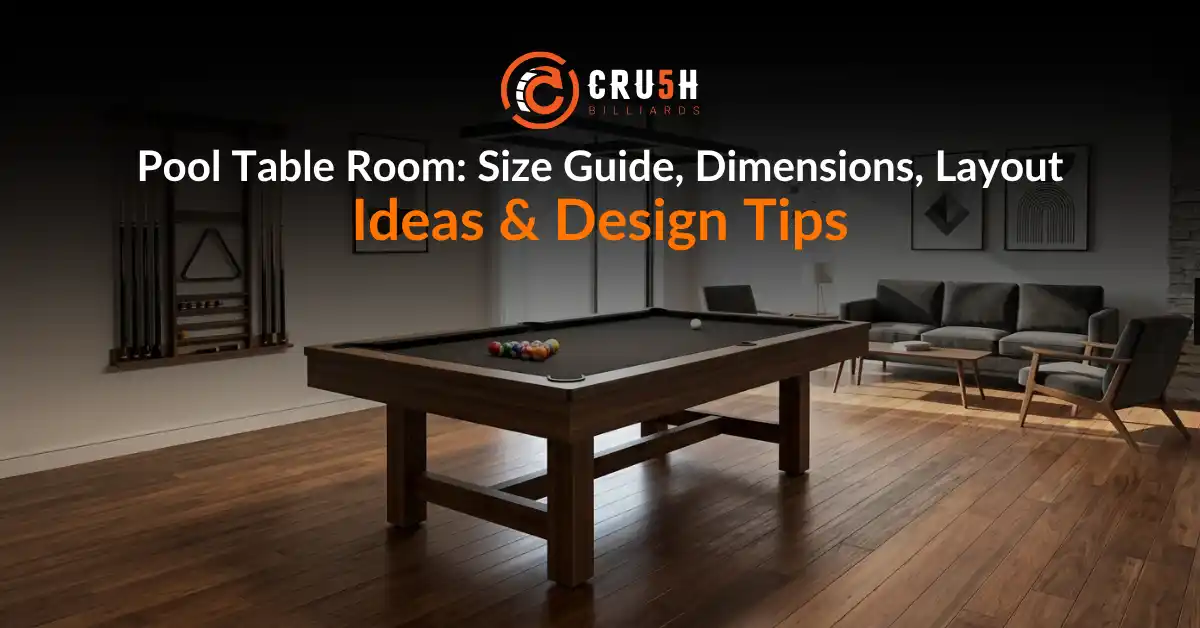
A successful billiards setup starts with proper placement. Pool tables are not designed to be moved after installation.
✔ Allow at least 5 feet of cue clearance on all sides
✔ Choose a solid, level surface (concrete or hardwood preferred)
✔ Account for table size and cue length
For example, a 6 foot pool table fits smaller rooms, while multi-use options like a three in one pool table may need extra space.
This stage forms the foundation of pool table assembly.
Lay the frame upside down
Secure the legs evenly using bolts
Flip the base upright once fully tightened
Check for wobbling. A stable base is critical before installing the slate.
Most professional tables use slate, usually in three pieces. Proper billiard table assembly depends on precise alignment.
Place the center slate first
Align side slates tightly
Secure bolts from underneath
Seal seams with beeswax
This creates a smooth and unified playing surface.
Accurate leveling is essential in official pool table setup.
Check:
Center of the table
Corners
Along each rail
Use shims or leg levelers until the surface is perfectly flat.
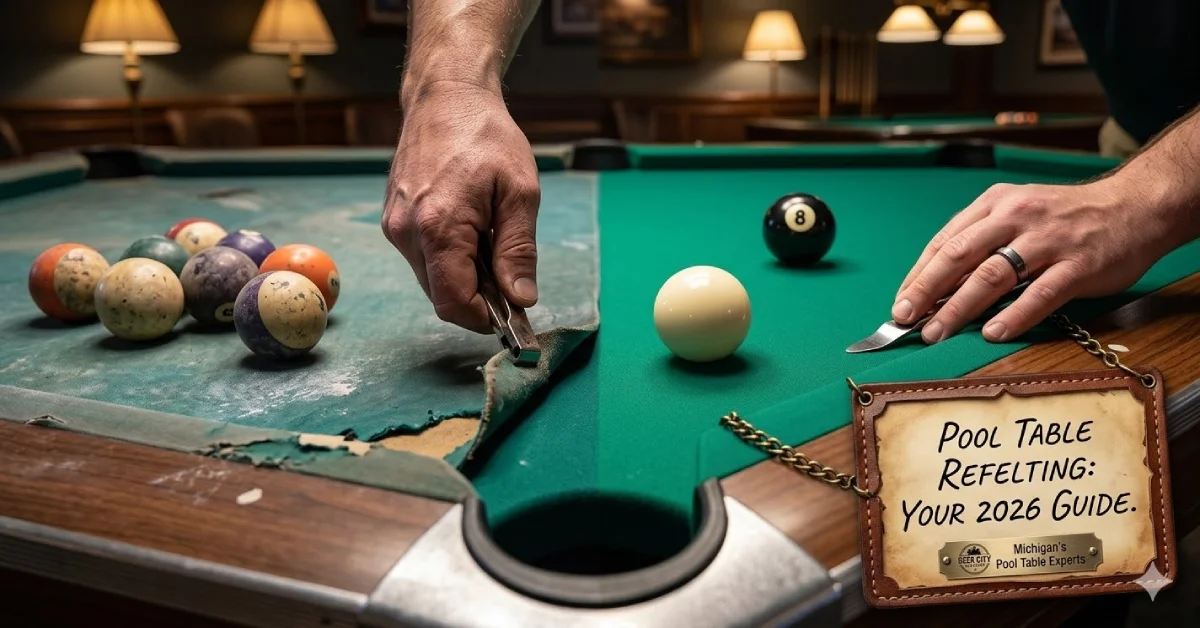
Knowing how to put pool table felt on correctly improves play speed and cloth longevity.
Stretch felt evenly
Secure underneath using staples or adhesive
Avoid wrinkles or loose areas
Then install the rails and pockets, tightening bolts gradually to maintain alignment.
Before playing:
Re-tighten all bolts
Recheck level
Ensure felt is smooth
Clean the surface
Roll a few balls across the table. If they travel straight, your pool table install is complete.
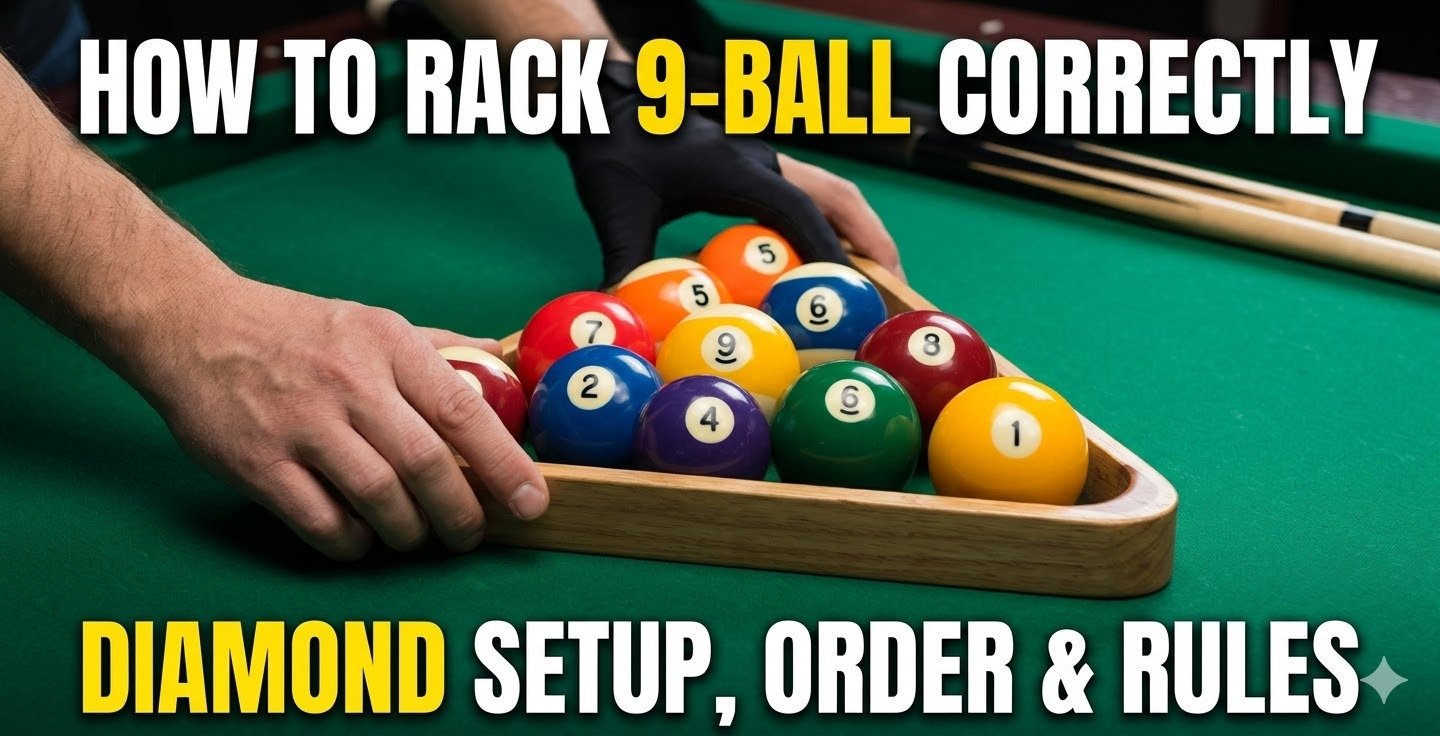
Once the table is ready, proper ball placement matters.
Standard pool table ball setup:
8-ball in the center
One solid and one stripe in opposite corners
Rack tightly at the foot spot
This applies to:
setting up pool table balls
how to set up balls on a pool table
A do it yourself pool table approach may work for:
mini pool table
Non-slate models
Professional installation is recommended for:
Slate tables
pool table reassembly
Heavy or premium models like Chicagoan pool table
Many homeowners look for pool table assembly service near me to ensure accuracy and avoid damage.
Typical pool table assembly cost ranges from:
$150–$250 for non-slate tables
$300–$600 for slate tables
Pricing varies by table size, weight, and complexity.
billiard setup differs from pool tables due to lack of pockets
snooker table setup requires tighter tolerances and different ball spacing
setting up snooker table follows similar principles with greater precision
Yes, but slate pieces are heavy. Assistance improves safety and alignment.
DIY installs usually take 3–6 hours. Professionals often finish in under 2 hours.
Every 6–12 months, or sooner if gameplay feels uneven.
Billiard tables have no pockets, while pool tables have six and use smaller balls.
Knowing how to put a pool table together properly ensures consistent gameplay, protects your slate, and extends the life of your table. With the right tools, patience, and attention to detail, you can achieve professional-level results at home.
For slate tables or high-end models, professional pool table installation remains the best option for long-term performance and peace of mind.